?")


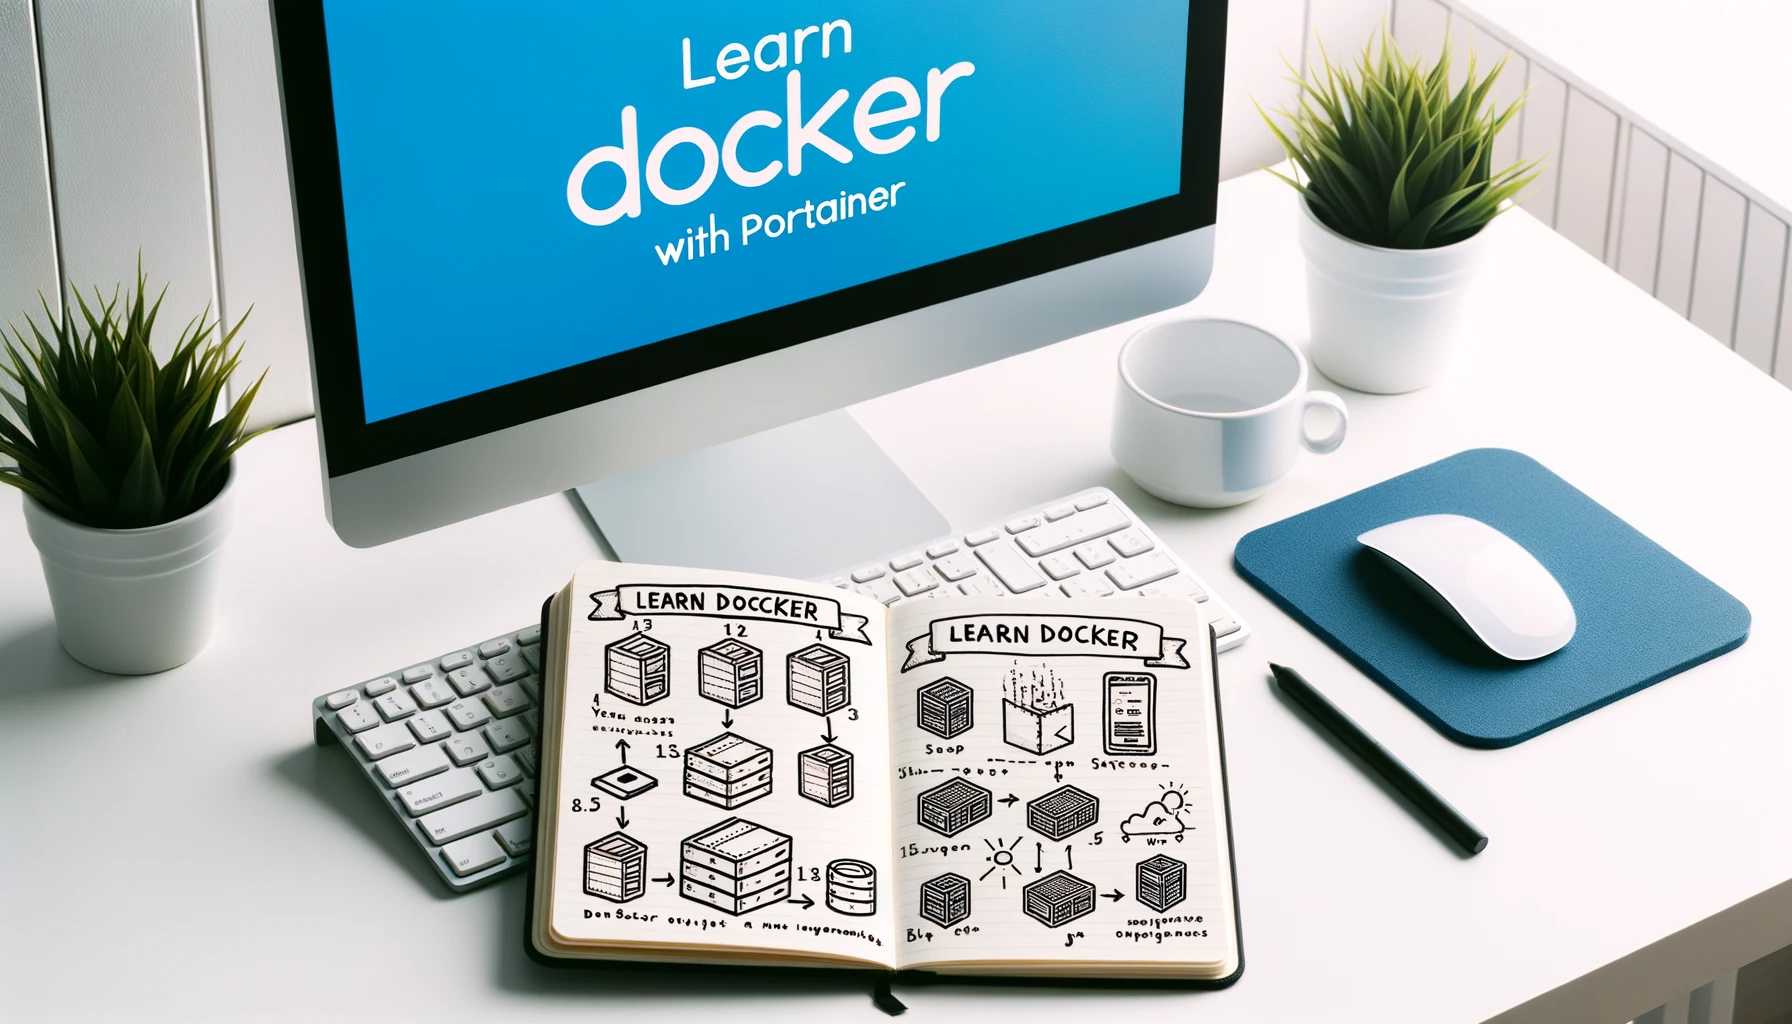
Are you struggling with learning Docker? Well, NetworkChuck is here to make it easier for you! In his video titled “learning Docker is HARD!! (this makes it easy)”, he introduces the web-based tool called Portainer that simplifies the management of Docker environments. This tool can be used to deploy and manage Docker networks, containers, and environments created with Docker Compose. Portainer can be installed on various devices such as Raspberry Pi and WSL, making it accessible to users on different platforms. The video is sponsored by Linode, and NetworkChuck provides step-by-step instructions on installing and using Portainer to manage Docker environments, emphasizing its ease of use and approachability.
If you find Docker challenging, NetworkChuck has the solution for you! He shares his excitement for a tool called Portainer that can simplify Docker management. In his video, “learning Docker is HARD!! (this makes it easy),” he explains that Portainer is a web-based tool that can be installed on any device running Docker. It helps users deploy and manage Docker networks, containers, and environments created with Docker Compose. Sponsored by Linode, NetworkChuck showcases the features and ease of use of Portainer, providing step-by-step instructions for installation and usage. Whether you’re a beginner or experienced with Docker, this video will make your Docker journey more enjoyable and effortless.
Introduction
Learning Docker can be challenging, especially when it comes to managing Docker environments and handling various tasks related to containers, images, networks, and volumes. However, there is a solution that can make this process much easier and enjoyable – Portainer. In this article, we will explore what Portainer is, how to install it, and how to use it to simplify the management of Docker environments. Whether you are a Docker newbie or a seasoned pro, Portainer can be your best friend in managing your Docker setups.
Overview of Portainer
What is Portainer?
Portainer is a web-based tool that simplifies the management of Docker environments. It provides a user-friendly interface that allows users to deploy, manage, and monitor Docker networks, containers, and environments created with Docker Compose. With Portainer, you can perform various Docker-related tasks without having to use complex command-line tools.
Features of Portainer
Portainer offers a range of features that make managing Docker environments a breeze. Some of its key features include:
- User-friendly interface: Portainer provides a clean and intuitive interface that makes managing Docker environments easy for users of all levels of experience.
- Container and image management: With Portainer, you can easily create, start, stop, and remove containers. You can also manage images by pulling them from registries or building them locally.
- Network and volume management: Portainer allows you to create and manage Docker networks and volumes, making it simple to connect containers and store and manage persistent data.
- Dashboard and monitoring: Portainer provides a dashboard that gives you a high-level overview of your Docker environment. You can monitor resource usage, view logs, and manage container stats.
- Access control and user management: Portainer allows you to set up access controls and manage user accounts, ensuring that only authorized users can make changes to your Docker environment.
Benefits of Using Portainer
Using Portainer offers several benefits for managing Docker environments:
- Simplified management: Portainer abstracts away the complexity of Docker command-line tools and provides an easy-to-use interface for managing Docker environments.
- Time-saving: Portainer automates tasks and provides a faster way to perform Docker-related actions, saving you time and effort.
- Improved visibility: Portainer’s dashboard and monitoring features give you a clear view of your Docker environment, allowing you to identify and troubleshoot issues quickly.
- Enhanced collaboration: Portainer allows multiple users to collaborate on managing Docker environments, making it easier to share responsibilities and work together.
- Flexibility: Portainer can be installed on various host environments, including Raspberry Pi and WSL, giving you the flexibility to manage Docker environments on different devices.
Installation of Portainer
Supported Host Environments
Portainer can be installed on any device that can run Docker. Whether you are using a Raspberry Pi, a Windows machine, or a Linux server, you can install and use Portainer to manage your Docker environments.
Installation Steps for Portainer
To install Portainer, you need to follow these steps:
- Ensure that Docker is installed on your host machine. If Docker is not installed, you can refer to the Docker documentation for instructions on how to install it on your specific operating system.
- Pull the Portainer image from Docker Hub by running the following command in your terminal:
docker pull portainer/portainer-ce - Once the image is pulled, you can create a new Portainer container by running the following command:
docker run -d -p 9443:9443 --name=portainer --restart=always -v /var/run:/var/run -v /var/portainer:/data portainer/portainer-ce This command will create a new Portainer container and expose port 9443 on your host machine for accessing the Portainer interface.
- After running the command, you can access the Portainer interface by opening a web browser and navigating to
https://localhost:9443. The first time you access the interface, you will be prompted to set up an admin account and password. Follow the on-screen instructions to complete the setup.
Congratulations! You have successfully installed Portainer on your host machine.
Accessing the Portainer Interface
Once Portainer is installed, you can access the Portainer interface by opening a web browser and navigating to https://localhost:9443. Make sure to specify https and port 9443 in the URL.
Upon accessing the interface for the first time, you will be prompted to set up an admin account and password. After completing this setup, you can log in to the Portainer interface using your admin credentials.
Managing Docker Environments with Portainer
Portainer provides a range of capabilities for managing Docker environments. Let’s explore some of the key management features.
Managing Containers
With Portainer, managing containers becomes a breeze. The interface allows you to easily create, start, stop, and remove containers. You can also view container logs, inspect container details, and manage container networks and volumes.
Managing Images
Portainer simplifies the management of Docker images. You can pull images from a registry, build images locally, and manage your image repository. Portainer also provides a registry browser, allowing you to search for available images and explore their details.
Managing Networks
Portainer makes it easy to create and manage Docker networks. With a few clicks, you can create new networks, connect containers to networks, and configure network settings. Portainer provides an intuitive interface for managing network configurations and ensuring containers can communicate with each other.
Managing Volumes
Portainer allows you to create and manage Docker volumes effortlessly. You can create new volumes, specify volume drivers, and attach volumes to containers. Portainer also provides a convenient way to manage and remove volumes, allowing you to handle persistent data easily.
Portainer Dashboard
Portainer’s dashboard gives you a high-level overview of your Docker environment. You can see information such as the number of containers, images, and networks running in your environment, as well as resource usage statistics. The dashboard provides a quick snapshot of the health and status of your Docker setup.
Terminal Interface
Portainer includes a terminal interface that allows you to access and interact with containers directly from the web interface. You can open a terminal session for a container and execute commands as if you were using a command-line interface. This feature provides flexibility and convenience for managing your Docker environment.
Creating and Configuring Containers with Portainer
Portainer makes it easy to create and configure containers using its intuitive interface. To create a new container, you can follow these steps:
- Click on the “Containers” tab in the Portainer interface.
- Click on the “Add container” button.
- Fill in the required information, such as the container name, image, and port mapping.
- Customize additional settings, such as environment variables, volumes, and restart policies.
- Click on the “Create the container” button to create the container.
Portainer’s interface guides you through each step, making it simple to configure containers according to your specific requirements. You can also leverage Portainer’s advanced settings to further customize container configurations.
Using Porter to Handle Docker Environments
In addition to Portainer, there is another tool called Porter that can handle various tasks related to Docker environments. Porter offers additional capabilities for managing volumes, networks, restart policies, and more. Let’s explore some of Porter’s features.
Capabilities of Porter
Porter provides several useful features for managing Docker environments efficiently. Some of these features include:
- Volume management: Porter allows you to create, manage, and remove volumes for your containers. You can easily attach volumes to containers and specify volume drivers and options.
- Network management: Porter simplifies the management of Docker networks. You can create and manage networks, connect containers to specific networks, and configure network settings.
- Restart policies: Porter provides various restart policies for containers, allowing you to define how containers should behave in case of failures or system restarts. You can set policies such as “no restart,” “always restart,” or “on failure.”
- Stacks management: Porter supports managing stacks, which are similar to Docker Compose files. You can create stack files to define multi-container applications, specify their dependencies and configurations, and use Porter to deploy and manage these stacks.
With Porter, you can take your Docker environment management to the next level by leveraging its advanced features and capabilities.
Volume Management with Porter
Porter simplifies volume management by providing an intuitive interface for creating, managing, and attaching volumes to containers. You can easily create new volumes, specify volume drivers and options, and attach volumes to containers according to your needs. Porter’s volume management capabilities ensure that your containers have the necessary storage resources and can store and access data effectively.
Network Management with Porter
Porter allows you to create and manage Docker networks effortlessly. With Porter’s network management features, you can easily create new networks, specify network drivers and settings, and connect containers to specific networks. Network management becomes a breeze, ensuring that your containers can communicate with each other and access the necessary resources.
Restart Policies with Porter
Porter provides various restart policies for containers, allowing you to define how containers should behave in case of failures or system restarts. You can configure restart policies such as “no restart,” “always restart,” or “on failure” for individual containers or groups of containers. This flexibility ensures that your containers can recover automatically and continue running smoothly in case of any issues.
Using Porter’s advanced features, you can take full control of your Docker environments and ensure that they operate reliably and efficiently.
Installing the Edge Agent
To manage remote Docker environments using Portainer, you need to install the Edge Agent. The Edge Agent allows your Portainer server to communicate and manage remote Docker hosts. Here is an overview of the Edge Agent installation process:
Overview of the Edge Agent
The Edge Agent is responsible for connecting remote Docker hosts to the Portainer server. It facilitates the communication between the server and the remote hosts, allowing you to manage and monitor Docker environments on those hosts.
Steps for Installing the Edge Agent
To install the Edge Agent, you need to follow these steps:
- Log in to your Portainer interface.
- Click on the “Endpoints” tab and then click on the “Add endpoint” button.
- Select “Docker environment” as the endpoint type.
- Choose a name for the endpoint and specify the endpoint URL. This URL should point to the remote Docker host that you want to manage.
- Select the appropriate options for authentication and TLS support.
- Click on the “Add endpoint” button to add the endpoint to your Portainer interface.
Once the Edge Agent is installed and added as an endpoint in Portainer, you can start managing the remote Docker host from your Portainer server. This allows you to easily manage multiple Docker environments across different hosts from a single interface.
Setting Up Docker Environment with Edge Agent
After installing the Edge Agent, you can configure your Docker environment to use the Edge Agent and establish a connection between the Portainer server and the remote host. Here is a step-by-step guide on setting up your Docker environment with the Edge Agent:
Configuring Remote Hosts
- Open your Portainer interface and navigate to the “Endpoints” tab.
- Click on the endpoint that represents your remote Docker host.
- In the endpoint details, click on the “Agent” tab.
- Copy the command provided under the “Command to start the agent” section.
Connecting Edge Agent to the Portainer Server
- SSH into the remote Docker host using a terminal or SSH client.
- Paste and run the command you copied from the Portainer interface.
- The command will start the Edge Agent on the remote host and establish a connection to your Portainer server.
- Once the Edge Agent is running, it will communicate with the Portainer server, allowing you to manage the remote Docker environment from your Portainer interface.
By following these steps, you can set up a connection between your Portainer server and the remote Docker host, enabling you to manage and monitor the Docker environment remotely.
Exploring the Features of Porter
Porter offers a range of features that simplify the management of Docker environments. Some of these features include:
- Container management: Porter provides an intuitive interface for creating, starting, stopping, and removing containers. You can also monitor container logs and inspect container details with ease.
- Image management: With Porter, you can pull images from registries, build images locally, and manage your image repository. Porter’s image management capabilities make it effortless to handle Docker images.
- Network management: Porter allows you to create and manage Docker networks effortlessly. You can easily connect containers to networks, configure network settings, and ensure effective communication between containers.
- Volume management: Porter simplifies volume management by providing an intuitive interface for creating, managing, and attaching volumes to containers. You can specify volume drivers, customize volume options, and ensure persistent data storage in your Docker environment.
- Restart policy management: Porter offers various restart policies for containers, allowing you to define how containers should behave in case of failures or system restarts. You can set policies such as “no restart,” “always restart,” or “on failure,” giving you control over container behavior.
With Porter’s comprehensive set of features, you can handle all aspects of Docker environment management efficiently and easily.
Ease of Use and Approachability of Porter
One of the key advantages of using Porter is its ease of use and approachability. Whether you are a Docker newbie or a seasoned pro, Porter’s user-friendly interface makes it easy to manage Docker environments without the need for complex command-line tools.
Porter’s intuitive design and clear navigation allow users to quickly grasp the functionality and perform various Docker-related tasks. The interface guides you through each step of container creation, image management, network configuration, and more, ensuring that you can accomplish your goals with ease.
Additionally, Porter’s dashboard provides a high-level overview of your Docker environment, giving you instant visibility into the health and status of your containers, networks, and volumes. The dashboard’s simplicity allows you to monitor resource usage, identify potential issues, and take necessary actions promptly.
Porter’s approachability extends beyond its interface. The tool is designed to be flexible and compatible with various host environments, including Raspberry Pi and WSL. Whether you are managing Docker environments in your home lab or in a production environment, Porter can adapt and cater to your specific needs.
Conclusion
Learning Docker can be challenging, but with tools like Portainer and Porter, managing Docker environments becomes easier and more enjoyable. Portainer provides a user-friendly web-based interface for deploying, managing, and monitoring Docker networks, containers, and environments. It simplifies tasks such as container creation, image management, network configuration, and volume management.
Porter, on the other hand, expands Portainer’s capabilities by providing additional features for managing volumes, networks, restart policies, and more. It takes Docker environment management to the next level, giving you greater control and flexibility.
By leveraging Portainer and Porter, you can streamline your Docker workflow, save time, and enhance collaboration in managing your Docker environments. Whether you are a Docker beginner or an experienced user, Portainer and Porter can be your allies in simplifying the management of Docker-related tasks. So why wait? Get started with Portainer and Porter today and experience the delight of managing Docker environments the easy way!
 on this page.")